.jpg)
Voidscar Arena
Section 1

Dominated Brawler
Interrupt Demoralizing Shout or the entire party deals reduced damage. Soothe Bloodsurge or use defensives/CC as stacks increase.

Brutal Overseer
Break its shield during Brutal Slams to stop heavy party-wide damage. Avoid Macestorm and kite away when fixated.

Aegyra the Unyielding (Left)
Drop Ferocious Leap/Earthsplitter toward the outside. When Champion's Spear lands, destroy it immediately to break the party's tethers, then spread for Savage Smash.

Voidtouched Magi
Interrupt every Shadowbolt Volley. Move Null Eruption away from the group before it expires and leaves a puddle.
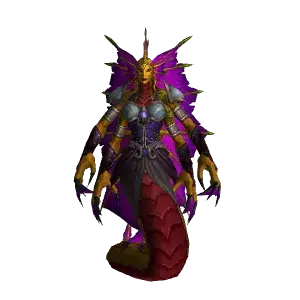
Raj’kess the Spellstorm (Right)
Immediately kill Orbs of Disruption before their cast completes. Prepare healing for Thundering Storm and Forked Lightning.
Arena Trash

Chitigoth
Insidious Aura deals heavy sustained party damage — prepare healing/defensives. Avoid the roaming Ravenous Swarms.
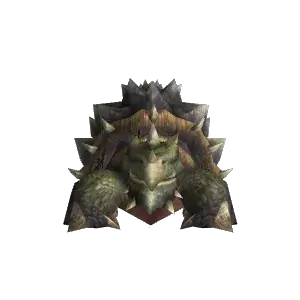
Protective Turtle
Move the pack away during Shell Guard. When the shield expires, the Turtle becomes stunned and takes increased damage — swap and burn it.
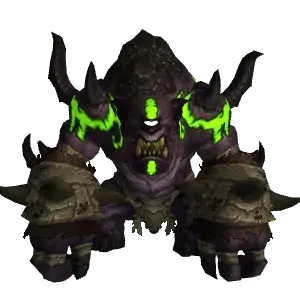
Brutok
Moving Brutok triggers Fel Steps party damage, so keep him as stationary as possible. Aim Smashing Charge into a nearby wall and mitigate Head Bash.
Boss 1 — Taz’Rah

Stay loosely grouped along the edge of the arena.
Ethereal Shades cast Nether Dash through each player — spread enough that the lines don't overlap. The Shades then create large Umbral Rupture puddles, so rotate around the outside of the room to keep floor space clean.
Dark Bloom causes existing puddles to fire dangerous orbs — keep moving and dodge them.
Tanks should mitigate Void Blast and avoid being knocked into existing puddles.
Section 2

Killvore Screamer
Interrupt Mass Shriek. Missing it fears the entire party.

Savage Shredclaw
Shred Defense stacks increased damage taken on the tank. Defensive or kite if stacks become dangerous.

Agitated Voidscythe (Right)
Dispel Corrosive Essence Poison targets where possible. Tanks should mitigate or bleed-cleanse Rip and Slice.

Watchful Harrower (Left)
Stack for Sky Strike, then immediately move out of the follow-up AoE. Defensive or heavily heal the player targeted by Void Beam.
Boss 2 — Atroxus
.jpg)
Poison Splash deals heavy party damage and creates Poison Pools — avoid them or you'll gain a large Haste reduction.
Stay relatively close to Atroxus so Noxious Breath can be easily sidestepped.
Monstrous Roar summons a Toxic Creeper — immediately swap and kill it. The add fixates the tank and stacks Sickening Bite with each melee, so tanks should kite it while using defensives for Hulking Claw.
Section 3

Devouring Brutalizer
Kill the mob targeted by Devour before the cast finishes or the Brutalizer heals and becomes significantly stronger. Prepare healing for Dreadbellow and tanks should defensive Brutalize.
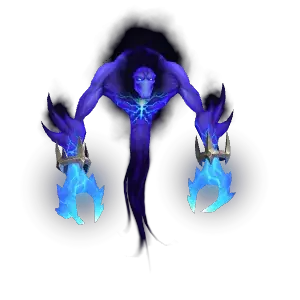
Voidminder
Interrupt or CC Mending Void to stop it healing nearby enemies. Watch for additional random-target damage from Dimensional Shred.
Killvore Screamer
Interrupt Mass Shriek. Missing it fears the entire party.
Boss 3 — Charonus

Avoid the three Unstable Singularities — they constantly damage and pull the party, and touching one prevents you from using abilities.
Loosely spread for Cosmic Crash.
When Gravitic Orbs fixate the three DPS, assign one player to each Singularity and kite the Orb into it to destroy both.
Tanks should point Dark Waves away from players handling their Orbs.
During Void Cascade, the targeted player should create distance and continuously move to dodge the incoming projectiles; everyone else should stay clear of their path.